Sculpting armatures is a fundamental skill for artists looking to bring their creations to life. In this comprehensive guide, I’ll walk you through the essential steps to master the art of sculpting armatures like a pro. Whether you’re a beginner eager to learn the basics or an experienced sculptor looking to refine your techniques, this guide has something for everyone.
From selecting the right materials to shaping and securing armatures, I’ll share insider tips and tricks to help you elevate your sculpting game. With a solid armature as the foundation, you’ll have the confidence to unleash your creativity and bring your artistic visions to fruition. Get ready to dive into the world of sculpting armatures and unlock your full creative potential.
Understanding Armatures in Sculpture
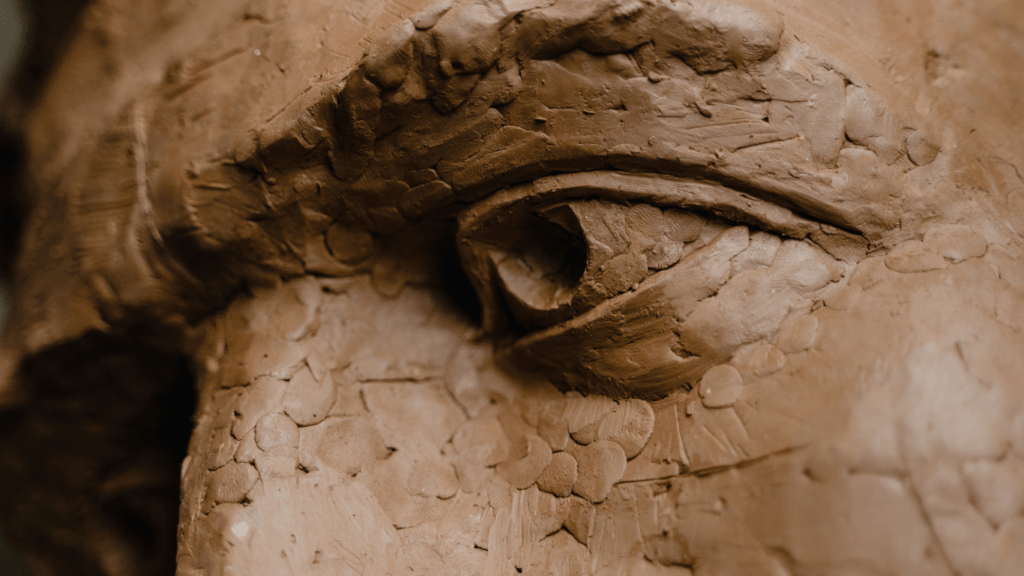
Sculpting armatures are essential tools that serve as the underlying structure for sculpting projects. They provide support and help artists maintain the intended shape and form of their sculptures. Armatures are particularly crucial when working with materials like clay, wax, or plaster that require internal support to prevent collapse or distortion during the sculpting process.
What Are Sculpting Armatures?
Sculpting armatures are frameworks or skeletons that sculptors use to support and shape their artwork. These structures are typically made from materials such as wire, aluminum foil, or even wood. By creating a solid armature, artists can ensure that their sculptures have a stable foundation and can withstand the sculpting and drying processes without losing their intended design.
Types of Materials Used for Armatures
Various materials can be used to create sculpting armatures, depending on the specific requirements of the project. Common materials include:
- Wire: Flexible and easy to manipulate, wire is a popular choice for creating armatures due to its ability to hold shapes well and provide necessary support.
- Aluminum Foil: Lightweight and malleable, aluminum foil can be shaped into desired forms to support sculpting materials effectively.
- Wood: Sturdy and rigid, wood armatures are ideal for larger sculptures that require substantial support and stability.
- Wire Mesh: Offering a more structured approach, wire mesh armatures are suitable for projects that need intricate detailing and precise shaping.
Each material has its unique characteristics and benefits, allowing artists to select the most appropriate option based on the size, complexity, and material of their sculpture project.
Essential Tools for Armature Sculpting
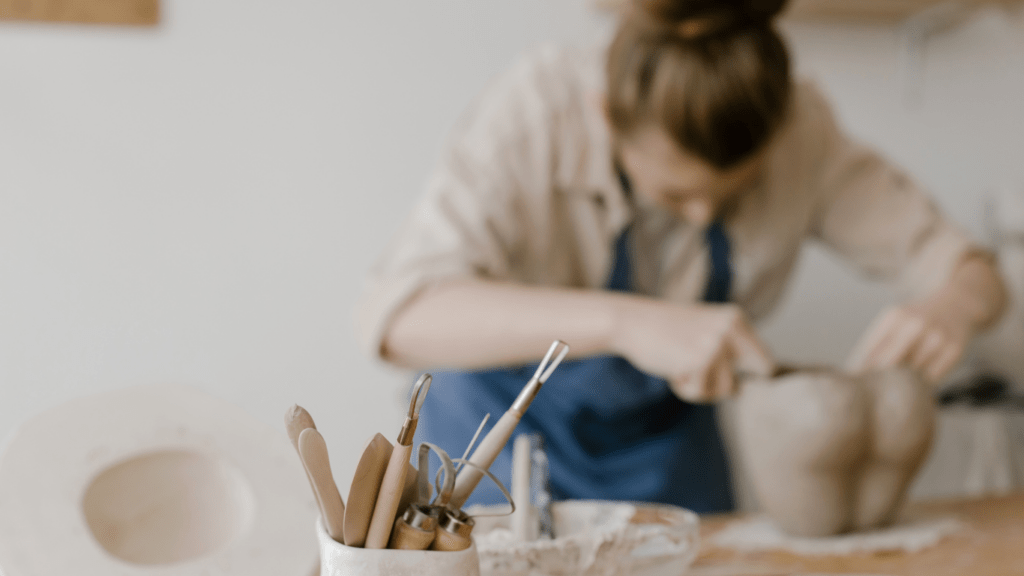
When it comes to sculpting armatures, having the right tools can make all the difference in the outcome of your artwork. Here are some essential tools categorized for beginners and professional sculptors to consider:
Basic Tools for Beginners
- Wire Cutters: Essential for cutting and shaping wire armatures to the desired size.
- Pliers: Useful for bending, twisting, and securing wires in armature construction.
- Aluminum Foil: Ideal for wrapping and bulking out armatures before adding sculpting material.
- Wooden Base: Provides a stable foundation for the armature and sculpture.
- Armature Mesh: Helpful for creating support structures in larger sculptures.
- Superglue or Epoxy: Used for securing armature components together.
- Soldering Iron: Enables more intricate wire connections and adjustments in armature design.
- Miniature Drill: Useful for drilling holes in armature components for added stability.
- Armature Skeleton: Metal armature frameworks that provide durability and long-term support.
- Sculpting Stand: Allows for easier manipulation and rotation of the sculpting project.
- Heat Gun: Useful for quickly drying and setting sculpting materials around the armature.
- Bone Folders: Precision tools for smoothing and sculpting fine details on the armature.
Whether you’re just starting your sculpting journey or are a professional looking to enhance your techniques, having the right tools at your disposal can help you create stronger, more stable armatures for your sculptures.
Step-by-Step Guide to Creating an Armature
Creating an armature involves designing a structure and building the framework to support your sculpting project. Let’s walk through the process step by step:
Designing Your Structure
When designing the structure of your armature, consider the scale, pose, and materials of your sculpture. Start by sketching a rough outline of your sculpture to determine the armature’s shape and size. Ensure the armature provides adequate support and balance for your artistic vision.
Building the Framework
To build the framework of your armature, gather the necessary materials based on your design. Begin by shaping the wire or wire mesh into the desired form, adjusting it to match your sketch. Use pliers and wire cutters to cut and mold the wire accurately.
Next, fill out the armature with aluminum foil or other filler material to give volume to your sculpture. Compact the foil tightly around the wire to create a solid base for sculpting. Consider using wooden bases or armature mesh for additional support and stability.
With the framework in place, secure the components using superglue or a soldering iron for a more permanent bond. For intricate details or adjustments, employ a miniature drill or bone folders to refine the armature’s structure.
By following these steps, you can create a sturdy and reliable armature that will enhance your sculpting process and help bring your artistic vision to life.
Tips and Tricks for Sculpting Armatures
When sculpting armatures, ensuring stability and balance is essential for the success of your artwork. Here are some tips and tricks to help you enhance the structural integrity of your sculptures and avoid common mistakes.
Enhancing Stability and Balance
To enhance stability and balance in your sculpting armatures, consider the following tips:
- Proper Base Support: Start by securing your armature on a stable base to prevent it from tipping over during the sculpting process.
- Strategic Reinforcement: Add extra support to areas that may bear more weight or pressure to maintain the balance of your sculpture.
- Adjusting Center of Gravity: Position the armature components in a way that distributes weight evenly to improve stability and prevent imbalances.
Common Mistakes to Avoid
When sculpting armatures, be mindful of these common mistakes to ensure the quality of your work:
- Neglecting Support: Failing to provide adequate support to your armature can lead to structural weaknesses and deformities in your sculpture.
- Overlooking Balance: Ignoring the balance of your armature can result in a lopsided or unstable sculpture that lacks cohesion.
- Inadequate Reinforcement: Insufficient reinforcement in critical areas can cause your sculpture to lose its shape or collapse under its weight.
 Harrison Lee plays a vital role at Sculpture Creation Tips, where his passion for the art of sculpture is evident in everything he does. With a comprehensive understanding of both classical and contemporary sculpting techniques, Harrison is committed to guiding and educating artists, whether they are just beginning their journey or are seasoned professionals. His approach goes beyond merely teaching technical skills; he encourages artists to explore and develop their unique artistic voices, pushing the boundaries of their creativity. Harrison's expertise and dedication make him an invaluable resource, not just for honing craftsmanship but also for inspiring innovation within the sculpting community. His ability to foster a supportive, dynamic learning environment ensures that every artist he works with is equipped to reach new heights in their artistic endeavors. Harrison's contribution to Sculpture Creation Tips is instrumental in its mission to elevate the art of sculpture and empower artists to achieve their full potential.