Getting the Basics Right
Before you shape a single muscle or hint at fur, your results depend heavily on starting smart.
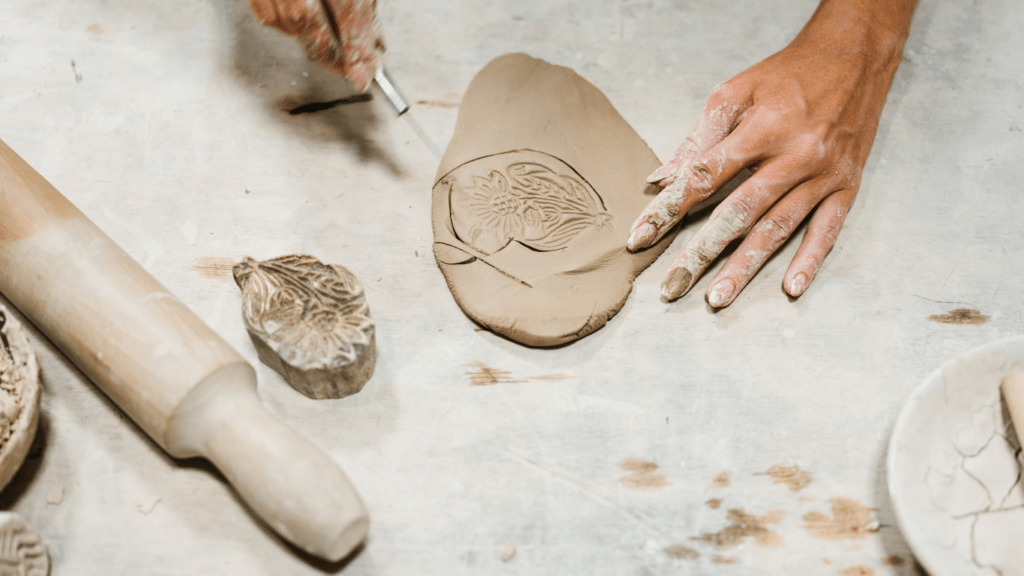
First up: clay. Polymer clay is popular for fine detail and clean finishing. It’s oven bake, so you control curing. Oil based clays, like plastilina, never harden good for long term projects or if you’re molding and casting. Water based clays dry out but give great realism for practice or display only pieces. Choose based on your final goal: permanent sculpture or flexible process.
Next, reference images. Don’t wing anatomy. Google won’t cut it unless you’re deliberate. Grab multiple angles. Study the skeleton and surface muscles. Real animals have quirks eyelid thickness, ear placement, paw anatomy that make or break believability.
Tools: keep it tight. A basic set with loop tools, fine tipped styluses, and a firm brush for smoothing will handle most needs. Toothpicks and an old toothbrush often beat fancy gear. Skip spending big early skill matters more than equipment. As you grow, add quality where it counts: a high precision blade, a silicone shaper, and a wire cutter for fast prep.
No shortcuts here. Right materials and discipline upfront save hours later.
Armature Building: Your Sculpture’s Skeleton
Creating a sturdy, well balanced armature is the foundation of every successful animal sculpture. This internal structure supports the clay and helps maintain form throughout the sculpting process.
Step 1: Build a Strong Foundation
Your wire armature is your sculpture’s skeleton it needs to be secure, stable, and appropriately flexible.
Use aluminum or steel wire for strength and pliability
Secure joints tightly using epoxy or wire wrap to avoid sagging
Mount on a base (like a wood block) for added stability while sculpting
Step 2: Focus on Scale, Proportion & Pose
Before bending a single wire, take time to plan:
Determine the final size so your armature fits your project goals and clay volume
Reference accurate anatomical drawings of the animal in motion
Sketch the pose on paper or digitally to visualize balance and gesture
A realistic pose starts with sculptural balance make sure weight distribution feels natural.
Step 3: Avoid These Common Mistakes
Getting the armature wrong can compromise the entire sculpture. Here are pitfalls to sidestep:
Skipping the pose planning stage rushing to build leads to stiff or awkward forms
Using soft or weak wire this won’t support the clay or hold delicate areas like legs or tails
Overcomplicating the structure keep it lean and only build what’s needed to support core volumes
Building a good armature sets the tone for all the details to come. Take your time and get it right up front.
Blocking in the Main Forms
Before jumping into the fine details, it’s essential to build a strong visual foundation. Blocking in the main forms gives your sculpture a clear silhouette and helps maintain anatomical accuracy throughout the process.
Simplify Into Basic Shapes
Start by reducing the animal’s form into a series of fundamental shapes and masses:
Head: Often starts as a sphere or oval
Torso and pelvis: Use overlapping cylinders or blocks to define major body zones
Limbs: Identify as tubes or cones that reflect muscle flow and joint positions
Tail and neck: Establish arc lines that influence gesture and weight distribution
Pro tip: Focus on proportion over precision at this stage. You’re building a map for your sculpture.
Add Volume, But Stay in Control
Once the form is sketched out, begin adding clay to build volume but do it gradually:
Apply clay bit by bit to avoid overbuilding
Step back frequently and view from multiple angles
Use your fingers or a soft tool to shape without adding sharp details yet
The goal is to define the silhouette and primary forms without getting lost in surface features.
Define the Gesture and Balance
A lifelike animal sculpture communicates motion and energy even in a static pose. This comes from capturing the gesture.
Think in terms of rhythm and flow not just anatomy
Ask: “Where is the weight?” and “How does the body support that weight?”
Consider tail, paws, and head placement as key balance indicators
Gesture gives your sculpture its attitude and believability. Take your time this is the moment your animal starts to feel alive.
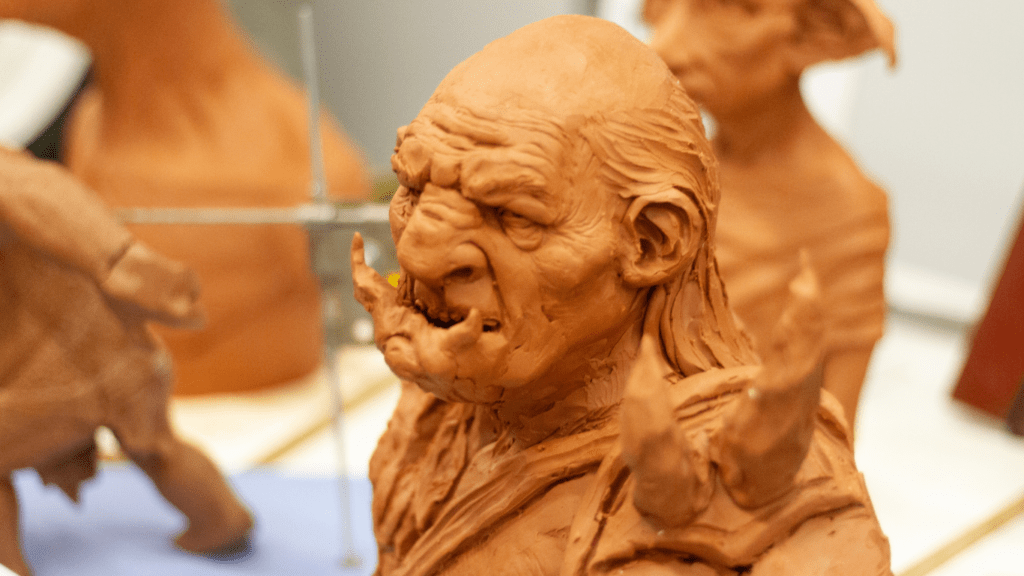
Carving the Details That Count

Once the structure is solid and the forms are in place, it’s time to dive into the details the part where a sculpture shifts from “good” to uncanny realism. Don’t rush it. Detail work is less about flair and more about patience and precision.
Start with muscle and joint definition. Keep anatomy references nearby real ones, not cartoons. The flow of muscle groups, stretch of tendons, and curve of joints tell the story of movement even in a still pose. When sculpting posture, ask yourself: Does it look like this animal could take a step right now? If not, adjust.
Now hit the focus zones. Eyes are everything slightly glossy, alive, set deep enough in their sockets. Ears tell personality; they shouldn’t look tacked on. Paws or claws? Show weight and pressure. Claws need to emerge, not poke out. And fur or feather flow? Direction matters. Don’t just stamp texture follow the natural contour of the body.
And here’s the deal with patience. If you hurry detail work, it shows. The surface becomes noisy instead of intricate. Sharpen your tools. Keep your touch light. Take breaks. Come back with fresh eyes. It’s not about perfection in a single pass it’s about refining until the sculpture breathes.
Surface Finishing Like a Pro
Bringing lifelike detail to an animal sculpture depends on how you finish the surface. For furred creatures, your smoothing approach needs to leave some texture behind real fur isn’t glass. Use loop tools or a stiff brush to gently drag along the direction of hair growth. Layer short strokes with slight pressure to mimic fur density. Want longer fur? Add fine clay ribbons, then blend them lightly into the body before carving strand separation. Don’t over smooth or you’ll lose that natural break up in the texture.
Scaled animals need a sharper touch. You’re aiming for defined edges and repeated patterns. Lightly press a pointed stylus or a custom stamp into semi firm clay to set scales. Test small areas before committing everywhere. Keep tool angles consistent for even symmetry. Once done, use a soft brush with solvent (like isopropyl alcohol or turpenoid) to ease surface roughness without washing out detail.
Timing matters. Clay that’s too soft turns to mush under texturing tools. Too dry and you’re chipping rather than carving. The sweet spot is when the clay feels firm but slightly yielding like a warm bar of soap. That’s when detail holds.
If you’re exploring more advanced finishes like mixing 3D printed scale stamps, carving overlays, or surface treatments check out this solid guide: Master texture techniques for sculpture.
Bringing It to Life With Textures
Creating lifelike textures is one of the most powerful ways to elevate your animal sculpture from good to incredible. It’s not just about replicating fur or feathers it’s about building up layers of detail that interact realistically with light, shadow, and surface depth. Here’s how to do it effectively.
Why Layering Matters
A polished sculpture is rarely the result of a single pass. Texture realism comes from subtle layering that mirrors how real animal skin, fur, and scales behave in the natural world.
Layer in stages rather than trying to replicate fine detail all at once
Use variations in depth and direction to simulate natural flow
Blend transitions gradually to avoid abrupt texture shifts
Choosing the Right Materials for Realism
Different animals require completely different surface treatments. Your material selection directly affects how convincing the end result looks:
Fur: Polymer clay, oil based clay, or wax allows gentle etching and soft blending
Feathers: Fine sculpting tools or layered clay slices help mimic feather segments
Skin textures: Silicone stamps or textured sponges can create subtle pores and wrinkles
Scales: Custom stamps, loop tools, or hand carved patterns add dimension without overworking the form
Keep in mind: softer clays work well for texturing, especially at mid to late sculpting stages when forms are locked in.
Tools That Work Harder So You Don’t Have To
The right tool doesn’t just save time it gives you a better finish. Consider assembling a kit that includes:
Silicone tipped sculpting brushes for smoothing and applying subtle textures
Dental tools or stainless steel loop tools for carving lines and contours
Needles, wire brushes, or texture mats for layering complex patterns like fur or scales
Custom stamps or rollers for consistent print based textures
Test your tools on scrap clay first to ensure the effect fits the animal type you’re creating.
Learn More: Advanced Texture Techniques
To explore more complex finishes and mixed medium approaches, check out this deep dive: Dive deeper: texture techniques for sculpture
From carving to 3D printed surface stamps, you’ll find strategies that match any species or style.
Perfecting textures takes practice, but it’s worth every minute. With the right materials, tools, and a layered approach, your animal sculptures will gain richness, depth, and a closer connection to reality.
Final Touches and Presentation
Let’s talk about the last 10%. It’s the difference between “pretty good” and “people can’t stop staring.”
Start with drying. Rushing this part is how cracks happen. Let the sculpture dry slowly and evenly. Cover it loosely with plastic for the first day or two to keep moisture loss gradual especially if your piece has thick and thin sections. Rotate it gently every so often to expose different surfaces and avoid warping or sagging. No heat guns. No sunbathing. Patience keeps your hard work intact.
Once the piece is bone dry, bring it to life. Use light washes of color to build depth. Dry brushing can lift fur texture, while glazing can create subtle tone shifts in skin or scale. Avoid overblending imperfection looks real. If painting isn’t your thing, natural finishes and pigments can also push realism far, especially for earthy or organic subjects.
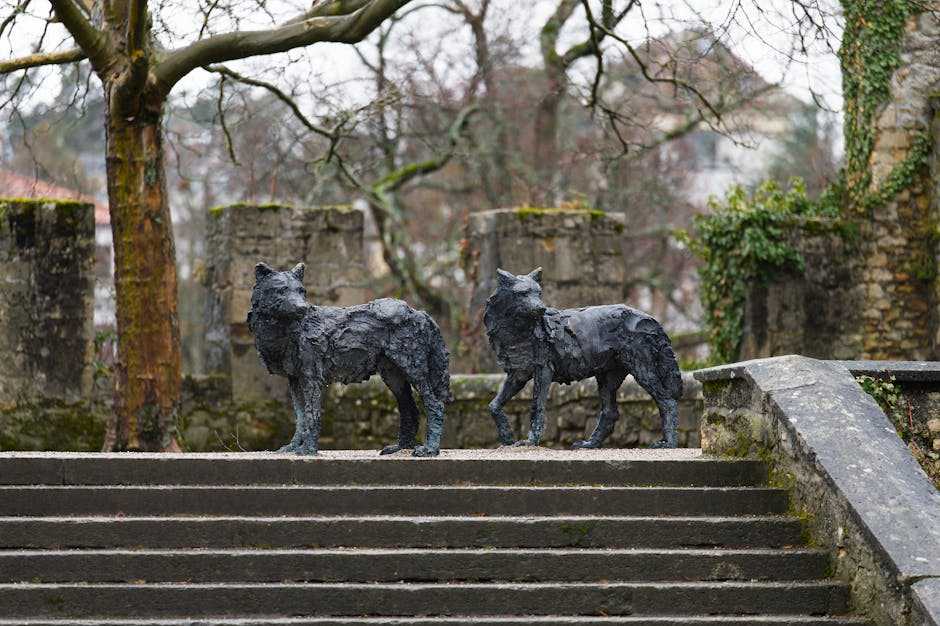
Finally: stage it like you mean it. A clean base or pedestal frames your work and gives it presence. Try shadowboxing with lighting that mimics natural sun, or use outdoor photo shoots to highlight textural detail. If it’s a delicate piece, consider encasing it in plexi for protection that doesn’t sacrifice visibility. Display isn’t afterthought it tells the story your sculpture began.
 Karen Parker is a vital member of the Sculpture Creation Tips team, where her profound love for the art of sculpting is evident in every piece she works on. With years of experience and a deep understanding of various sculpting techniques, Karen has become a trusted mentor to both beginners and seasoned artists alike. Her dedication to the craft is matched only by her passion for teaching, as she creates detailed, easy-to-follow tutorials that help others bring their artistic visions to life. Karen's expertise spans a wide range of materials and styles, allowing her to offer invaluable insights that cater to a diverse audience. Whether through her hands-on guidance or her thoughtful advice, Karen's contributions are instrumental in nurturing a vibrant and supportive community of sculptors, all united by a shared love for this timeless art form.