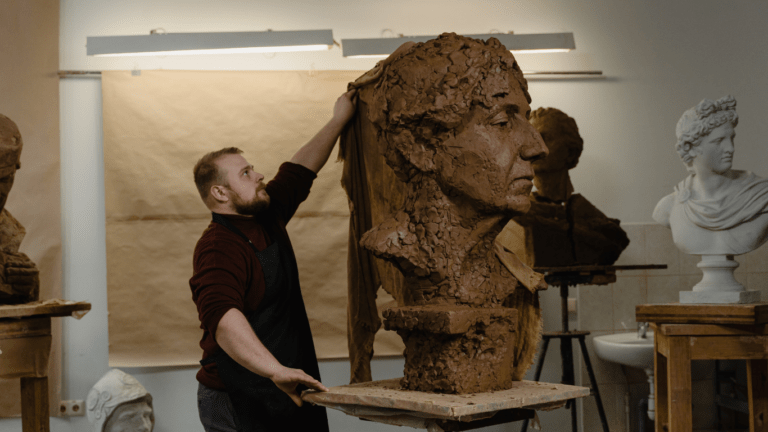


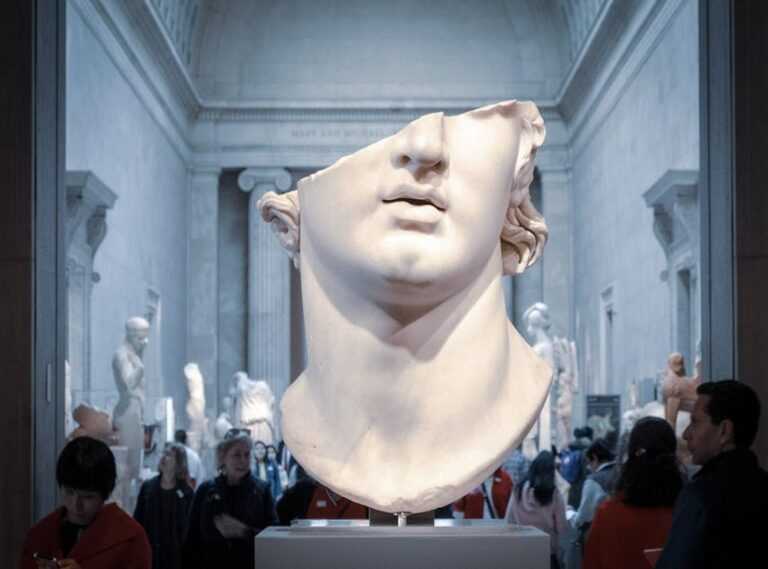


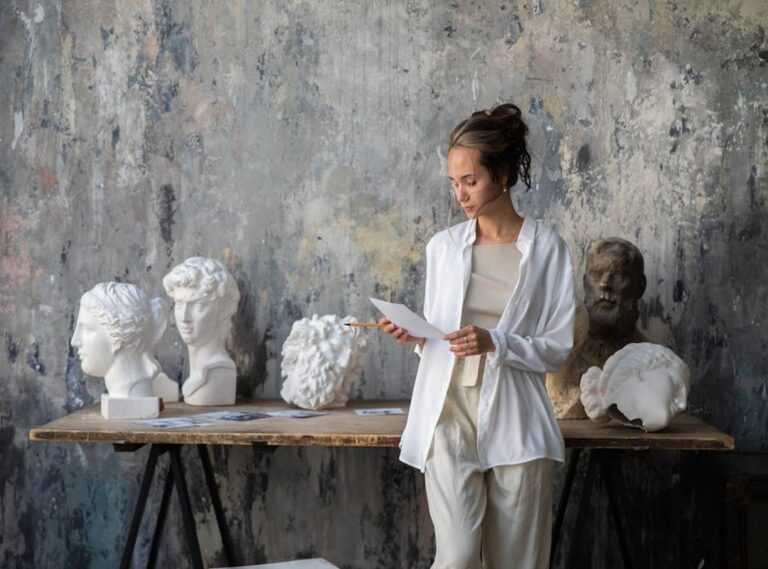
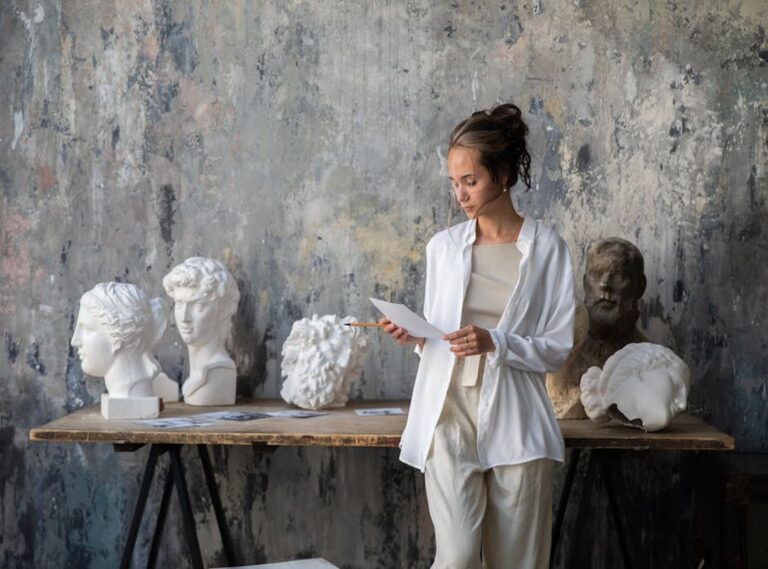


Embarking on a journey into the world of clay sculpting is like stepping into a realm where imagination meets craftsmanship. As a beginner, the prospect of molding a formless lump of clay into a work of art can be both thrilling and daunting. But fear not, as I’m here to guide you through the fundamentals of this creative process.
In this beginner’s guide to clay sculpting, I’ll share essential tips, techniques, and tools to help you bring your artistic visions to life. From understanding the different types of clay to mastering basic sculpting methods, you’ll soon discover the joy of shaping and molding with your own hands. So, grab your clay, roll up your sleeves, and let’s dive into the wonderful world of clay sculpting together.
The Basics of Clay Sculpting
When diving into the world of clay sculpting, choosing the right materials is crucial. As a beginner, opt for water-based clays like earthenware or polymer clay, which are easy to work with and suitable for various projects.
Choosing the Right Materials
I recommend starting with earthenware clay for its versatility and affordability. It’s a popular choice among beginners due to its pliability and ease of manipulation. Additionally, polymer clay is excellent for small projects and jewelry making, as it can be cured in a home oven.
Essential Tools for Beginners
As you begin your clay sculpting journey, gather essential tools like a pottery knife for cutting and shaping clay, a set of sculpting tools for detailing, and a rolling pin for flattening clay. These tools are fundamental for creating a wide range of sculptures and mastering different techniques.
Getting Started With Your First Sculpture
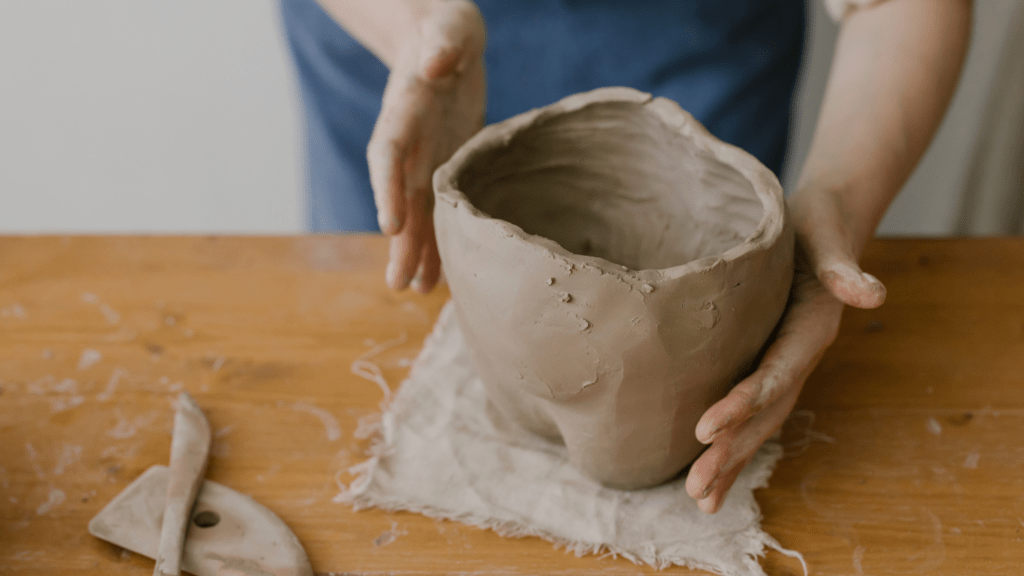
When it comes to sculpting with clay, getting started on your first sculpture can be an exciting and rewarding experience. To ensure you begin on the right foot, it’s essential to understand the basics of clay conditioning and simple techniques to shape your clay effectively.
Understanding Clay Conditioning
Before diving into sculpting your first clay creation, it’s crucial to understand the process of clay conditioning. Conditioning clay involves preparing it to make it more pliable and easier to work with. This is typically done by kneading the clay to remove air bubbles and make it smoother for sculpting. By taking the time to properly condition your clay, you’ll have better control over its shape and form as you bring your sculpture to life.
Simple Techniques to Shape Your Clay
When shaping your clay sculpture, there are several simple techniques you can use to create the desired forms and textures. Pinching is a popular method where you use your fingers to pinch and shape the clay into your desired form. Coil building involves creating shapes by layering coils of clay on top of each other. Another technique is slab building, where you roll out clay slabs and cut and mold them into shapes for your sculpture. Experimenting with these basic techniques will help you develop your sculpting skills and bring your creative vision to fruition.
Sculpting Techniques Explained
When it comes to clay sculpting, mastering basic shaping and joining methods is essential. Begin by familiarizing yourself with simple techniques like pinching, coil building, and slab building. These methods allow you to shape the clay effectively and bring your creative ideas to life.
Basic Shaping and Joining Methods
In sculpting with clay, pinching involves using your fingers to mold and shape the clay. It’s a fundamental technique that allows for detailed work and precision in creating forms. Coil building, on the other hand, involves rolling out clay into long coils and layering them to build structures or forms. This method is great for creating cylindrical shapes or adding volume to your sculptures. Slab building is another technique where clay is rolled out into flat sheets (slabs) and then cut and assembled to construct various shapes.
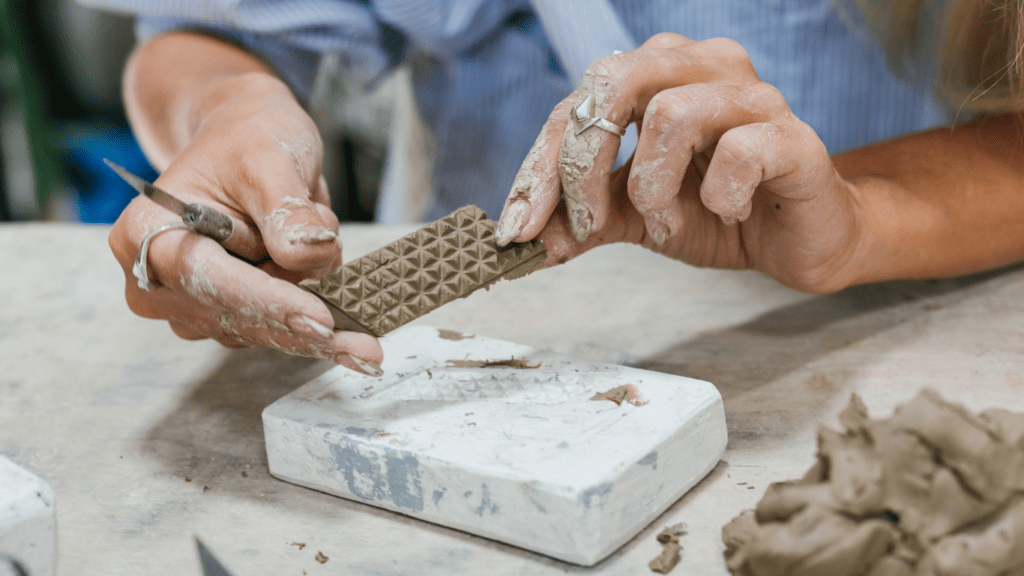
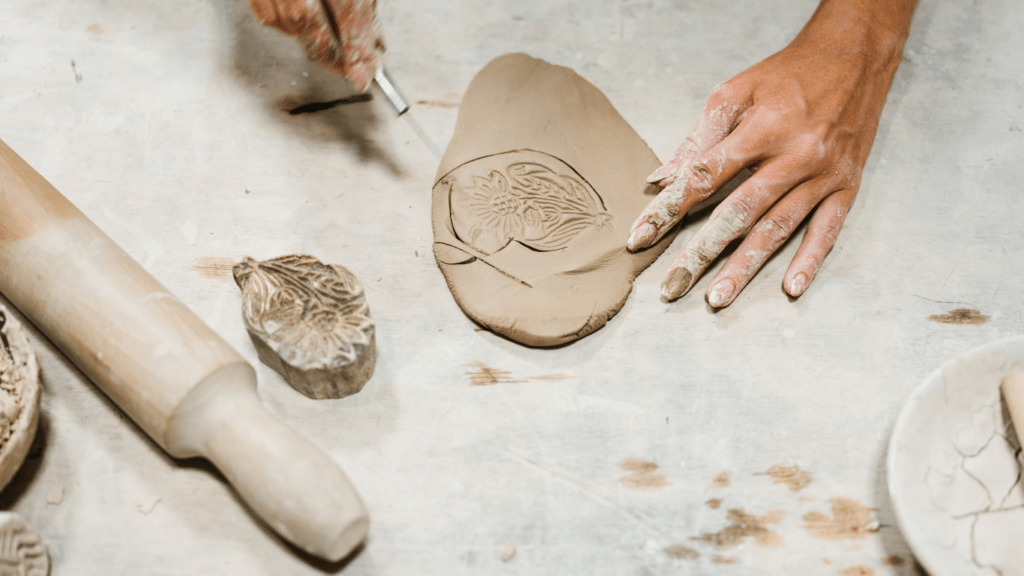
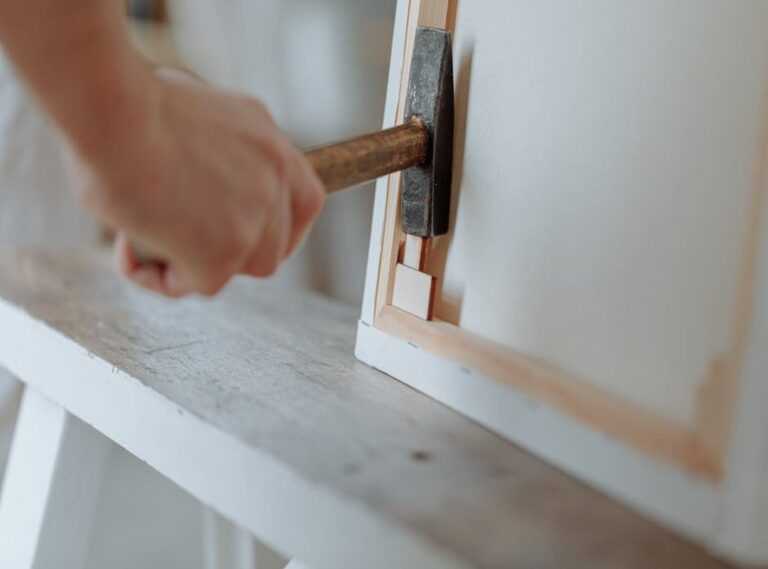
Adding Textures and Details
Once you master basic shaping methods, adding textures and details to your clay sculptures can take your work to the next level. Various tools like texture mats, rib tools, and carving tools can help create intricate textures on the surface of your sculptures. Experiment with different tools and techniques to achieve the desired effects and add depth to your creations. Pay attention to details like patterns, lines, and shapes to enhance the visual appeal of your clay sculptures.
Drying and Firing Options
When it comes to drying and firing your clay sculptures, there are essential considerations to ensure your artwork turns out as intended. Let’s explore the different options available for this crucial stage of the clay sculpting process.
Air-Drying vs. Kiln-Drying
In clay sculpting, you have two primary options for drying your creations: air-drying and kiln-drying.
I prefer air-drying for small projects or pieces that don’t require high levels of structural integrity. It’s a convenient method that involves leaving your sculpture in a well-ventilated area to slowly dry over time. However, keep in mind that air-drying may lead to more significant shrinkage and the risk of cracking in larger or denser sculptures.
On the other hand, kiln-drying is my go-to choice for larger or more complex clay sculptures that need to maintain their shape and strength. Kilns provide controlled heat and drying conditions, ensuring a more uniform drying process and minimizing the risk of deformities or cracks. I always recommend kiln-drying for professional-quality clay artworks that require precision and durability.
Tips for Successful Firing
To achieve successful firing of your clay sculptures, consider the following tips:
- Ensure Proper Drying: Before firing your clay sculpture, make sure it is completely dry to prevent cracking or exploding in the kiln.
- Preheat the Kiln: It’s essential to preheat the kiln to the recommended temperature before placing your sculptures inside to prevent thermal shock.
- Follow Firing Schedules: Different types of clay require specific firing schedules. Always refer to the clay manufacturer’s guidelines for the optimal firing temperature and duration.
- Ventilation: Proper ventilation is crucial during the firing process to allow gases and smoke to escape, ensuring uniform heating and preventing defects in your sculptures.
- Monitor the Firing: Keep a close eye on the kiln temperature throughout the firing process to make any necessary adjustments and ensure a successful outcome.
By understanding the differences between air-drying and kiln-drying, and following these tips for successful firing, you can enhance your clay sculpting skills and create professional-quality artworks with precision and care.
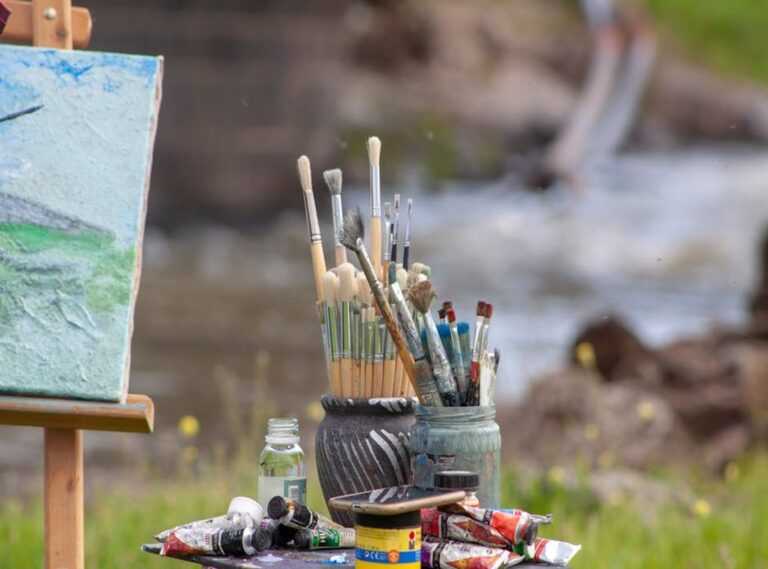
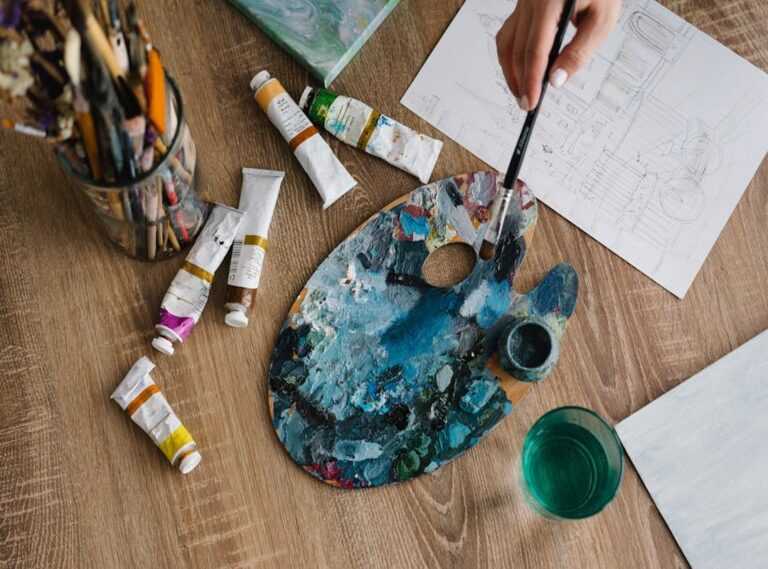
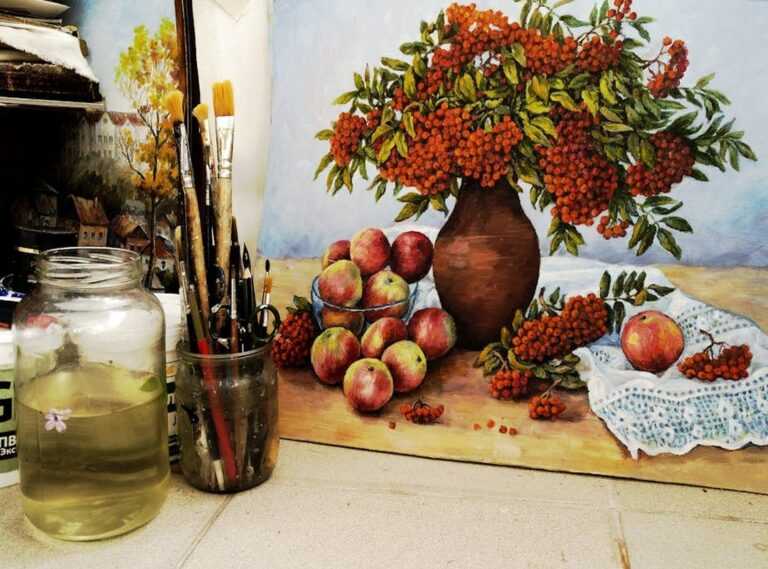
Painting and Finishing Your Sculpture
Painting and finishing your sculpture is a crucial step in the clay sculpting process as it gives life and character to your artwork. In this section, I’ll discuss choosing the right paints and finishes, as well as techniques to achieve a professional look.
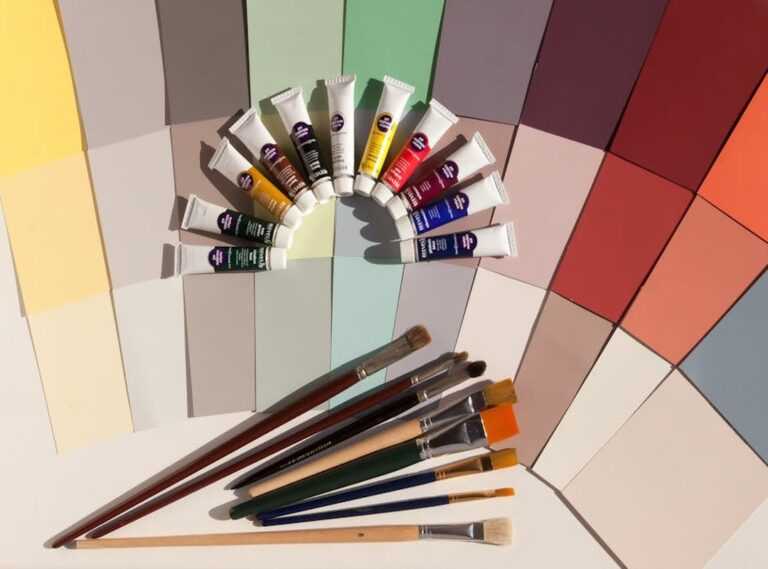
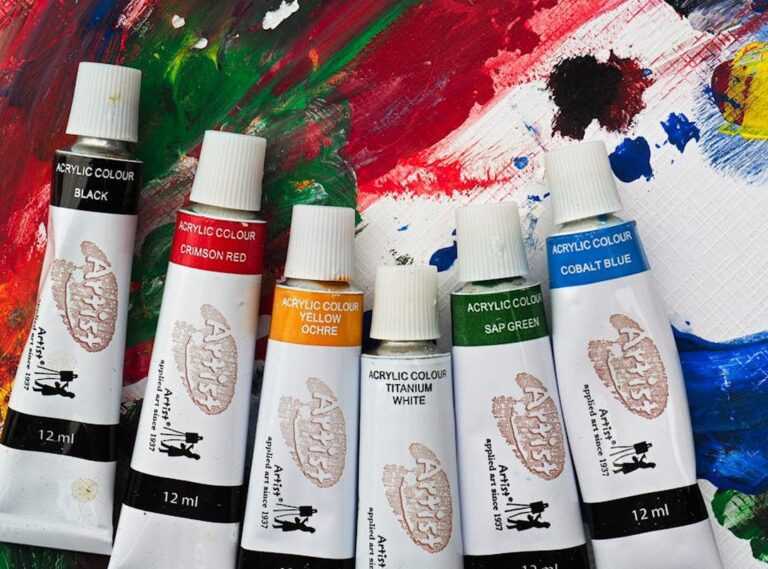
Choosing the Right Paints and Finishes
When it comes to painting your clay sculpture, selecting the appropriate paints and finishes is essential to ensure the longevity and visual appeal of your artwork. Acrylic paints are commonly used for clay sculptures as they offer a wide range of colors, are easy to work with, and dry quickly. Additionally, acrylic paints can be mixed to create custom shades and diluted for translucent effects.
For finishing your sculpture, consider using a clear sealer or varnish to protect the painted surface and enhance the colors of your sculpture. Matte, satin, or gloss finishes can be chosen based on the desired final look of your artwork. Experimenting with different finishes on small test pieces can help you determine the most suitable finish for your sculpture.
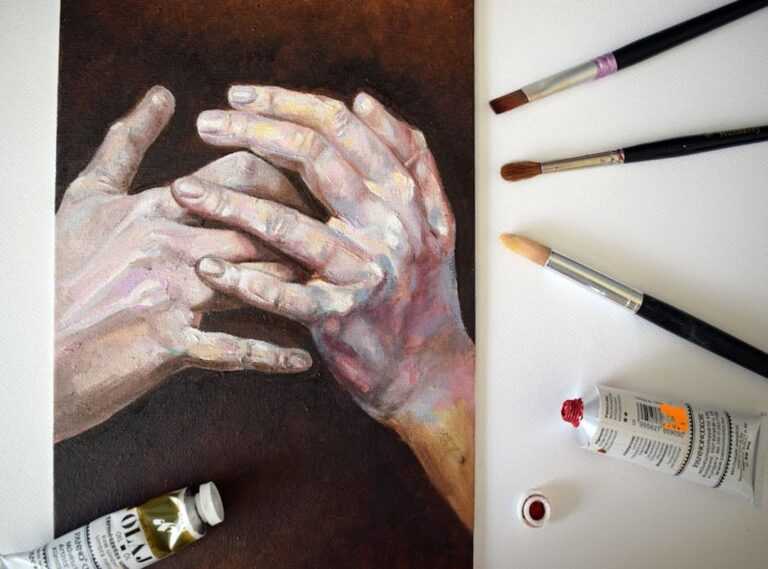
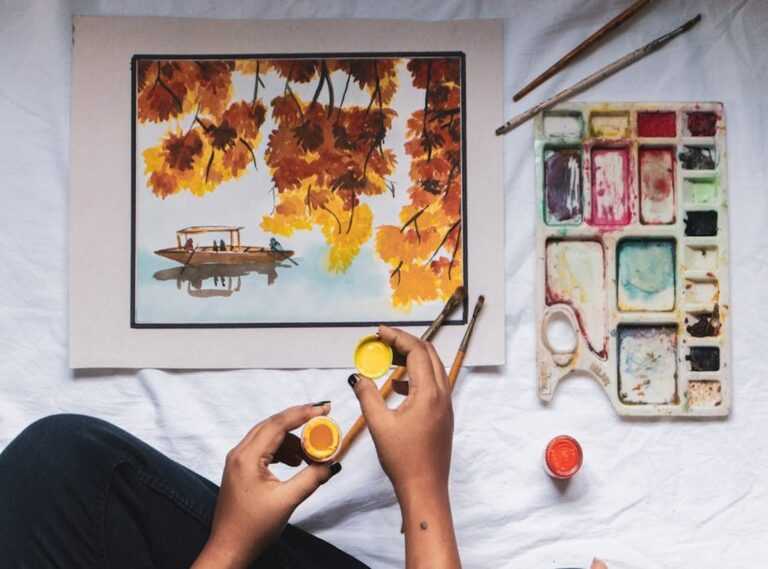
Techniques for a Professional Look
Achieving a professional finish on your clay sculpture involves attention to detail and proper application techniques. Start by applying a base coat of paint to your sculpture, ensuring even coverage and smooth transitions between colors. Layering paints can add depth and dimension to your artwork.
To create a realistic look, consider dry brushing techniques where a small amount of paint is applied to a dry brush and lightly brushed over the sculpture’s surface to highlight raised areas. This technique can bring out textures and details in your sculpture effectively.
Furthermore, adding shading and highlighting using darker and lighter tones of paint can enhance the sculptural elements and create a sense of realism. Blending colors seamlessly and practicing different painting techniques will help you achieve a professional finish that elevates your clay sculpture to a work of art.
 Christyn Stearnsio, the visionary founder of Sculpture Creation Tips, is a passionate artist with a deep love for the art of sculpting. With years of experience in the field, Christyn has dedicated her career to sharing her knowledge and expertise with others, creating a platform that serves as a comprehensive guide for sculptors at all levels. Sculpture Creation Tips is a testament to her commitment to nurturing creativity and helping artists master the delicate craft of sculpting. Through detailed tutorials, insightful articles, and a supportive community, Christyn empowers aspiring sculptors to explore their artistic potential, refine their skills, and bring their unique visions to life. Her dedication to the art form is evident in every piece of advice and inspiration she shares, making Sculpture Creation Tips a trusted resource for sculptors around the world.