Choosing the Right Clay for Beginners
Before you sculpt a single shape, you’ve got to choose the right clay and not all clays play the same. Here’s a breakdown to help you skip the trial and error phase.
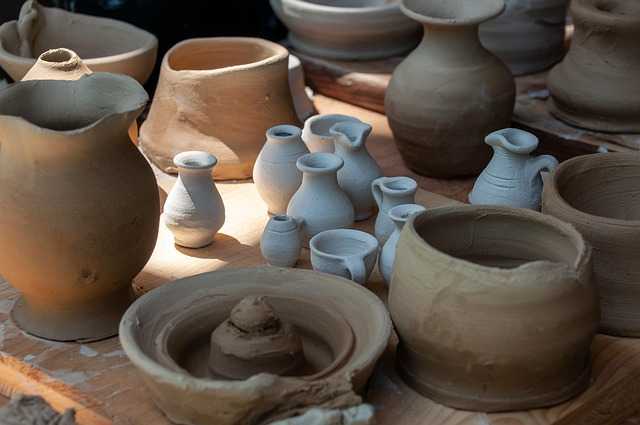
Air Dry Clay
Good for: quick projects with minimal setup
Pros: no oven needed, dries fast, easy to shape
Cons: prone to cracking if too thick, not water resistant unless sealed
Verdict: Great starter clay for ultra beginners and budget builds
Polymer Clay
Good for: detailed miniatures, keepsakes, and colorful work
Pros: bakes firm in a standard oven, doesn’t dry out during sculpting, wide color range
Cons: needs baking, can get pricey, softens with too much handling
Verdict: A solid step up once you’ve got the hang of basic shaping
Oil Based Clay
Good for: practice and professional modeling
Pros: doesn’t dry out, perfect for reworking
Cons: never hardens, not good for permanent display, tougher to paint
Verdict: Best for learning form and technique not for finished pieces
Where to Buy (and What to Watch For)
Start simple. Craft stores, online retailers, or even basic kits from verified sellers on platforms like Etsy or Amazon can get you rolling. Avoid unbranded bulk packs cheap clay can crumble, dry unevenly, or leave residue. Stick to known names like Sculpey, DAS, or Plastilina until you know what you’re doing.
For more beginner friendly advice, head over to the full beginner clay guide.
Must Have Tools You Already Own
Getting started with clay doesn’t require a full set of professional sculpting tools. In fact, you likely have several useful alternatives at home that can do the job just as well especially for beginners testing the waters.
Everyday Household Items That Work Wonders
Many common objects can double as effective sculpting tools. These give you flexibility without the upfront cost and allow for experimentation while you develop your technique.
Useful Substitutes:
Toothpicks: Great for adding fine lines, textures, or poking small holes.
Butter knives: Ideal for cutting clay or gently shaping large sections.
Cotton swabs: Perfect for smoothing surfaces or blending seams.
Paper clips: Can be bent into custom sculpting shapes.
Old toothbrushes: Excellent for adding texture or brushing off small debris.
Plastic spoons or forks: Useful for scooping, dragging, or shaping softer clays.
Why You Don’t Need a Huge Toolkit to Begin
Investing in high end tools can come later what matters now is learning how clay behaves and how your hands interpret form. Starting with household tools helps you:
Focus on technique over equipment.
Stay flexible and creative with how you solve problems.
Build confidence before spending on specialized tools.
Pro Tip:
Don’t overlook your own fingers they’re often the most intuitive sculpting tools you have. Use them to pinch, smooth, and form your piece naturally.
Keep it simple. Creativity thrives when limitations push you to think outside the conventional toolbox.
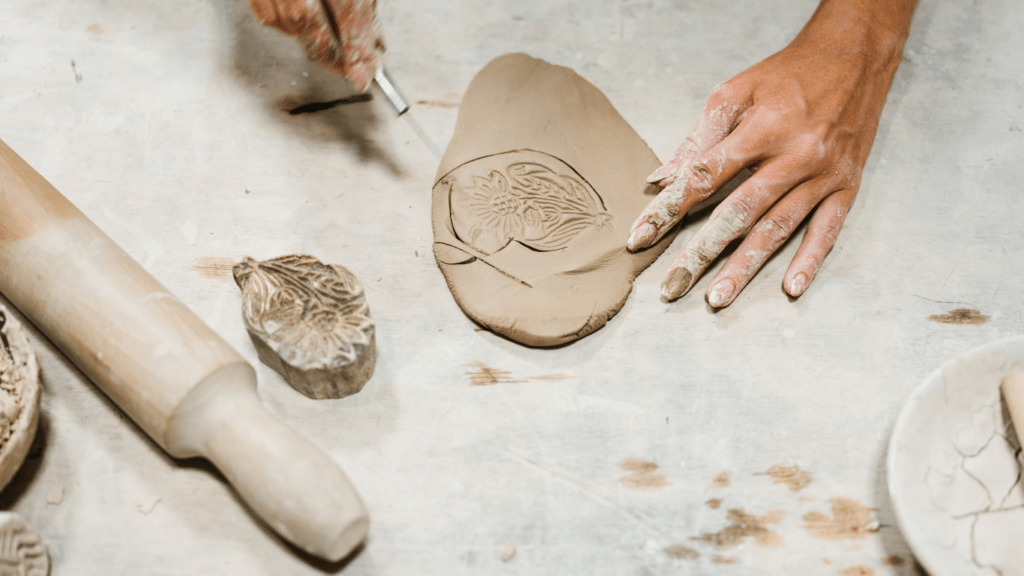
Step by Step: Sculpting Your First Figurine
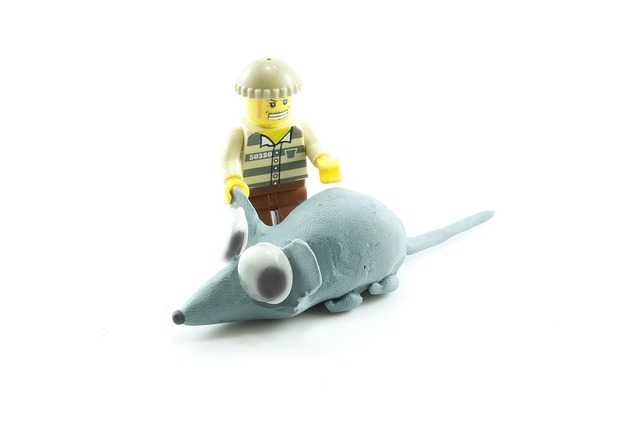
Start simple. If this is your first figurine, go with a basic animal or a cartoon character nothing too detailed. Think cat, bunny, or a chubby dinosaur. Rounded shapes are easier to manage, and the margins for error are forgiving.
Now, decide if you need an armature. If your figure is larger than your palm or has outstretched limbs (like arms, tails, or ears sticking out), a wire armature helps. For smaller or solid shapes, you can usually skip it. Use aluminum wire or sturdy paper clips. Twist and bend them into the basic skeleton of your figure.
The workflow follows four steps:
- Form: Block out the basic shape no details yet, just get the size and pose right.
- Refine: Start smoothing and tweaking the shape. Add muscle curves or the basic features (like legs, snouts, ears).
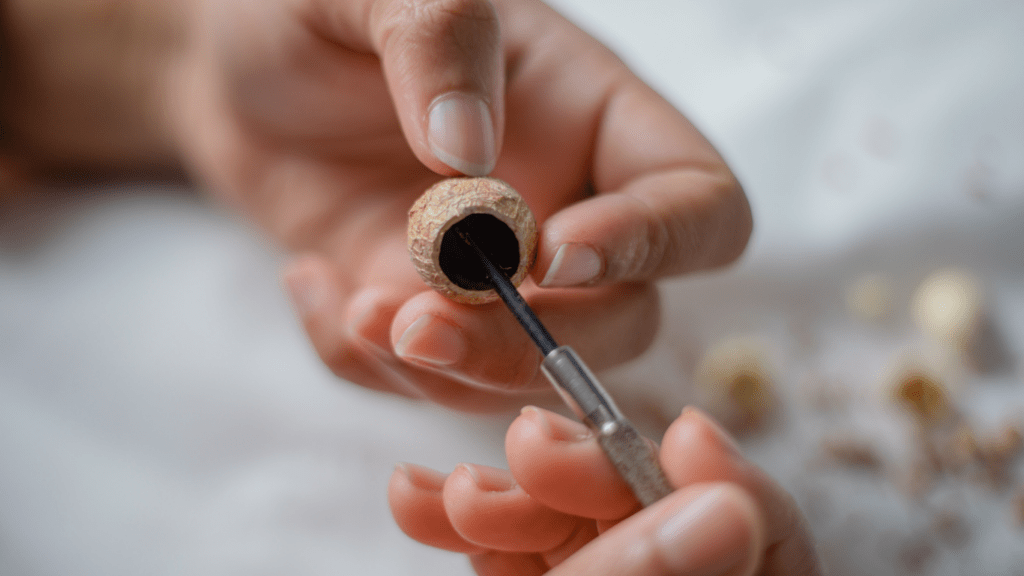
- Detail: Add smaller touches eyes, fur texture, clothing lines. Use toothpicks or clay tools here.
- Texture: Bring it to life. Fur scratches, scale imprints, or fabric folds make it feel like more than a lump.
For symmetry, work from the center out. Use a ruler or eyeball key points like eye level, shoulder width, or tail length. Compare from different angles often. Pull back, squint, rotate whatever helps you spot uneven spots. Perfect isn’t the goal balanced is.
One move at a time, no rush.
Drying and Finishing the Figurine
Drying is where beginners usually lose patience and ruin their work. So here’s the straight truth: how long it takes depends fully on the clay. Air dry clays like paper clay or DAS? Give them a solid 24 to 72 hours, depending on size and thickness. Don’t rush it. If you try to paint early, expect cracks and warping. Polymer clay doesn’t dry it cures in the oven. Follow the package instructions down to the minute and degree. Oil based clay? Forget drying it never really hardens and is better for short term projects or molds.
Before clay dries, use a damp sponge or soft brush to smooth rough spots and fingerprints. Don’t soak it just glide. Use your fingers if needed, but keep them clean to avoid smudging detail. Once dry, you can sand certain clays gently with fine grit sandpaper. Test a small area first. If it’s cracking or powdery, stop. You’ll do more harm than good.
Painting is where most beginners overdo it. A few rules: always let the clay fully dry before painting. Always. Use acrylics never watercolor or oils unless recommended by the clay brand. Start with thin coats; heavy paint can clog detail fast. Seal it with a matte or gloss varnish if it’s a display piece. For toys or constantly handled figurines, sealing isn’t optional it’s protection.
Less is more. Be patient. Let each layer do its job.
Common Beginner Mistakes (and How to Fix Them)
Clay is forgiving until it isn’t. Cracks tend to show up when clay dries too fast or you add water during detailing and don’t let it settle. Keep plastic wrap nearby to cover pieces between sessions and mist lightly if the surface starts to feel brittle. Fingerprints are the other big culprit. Warm hands and soft clay can leave marks you don’t notice until it’s dry. Use tools or wear thin gloves if needed, and do a pass with a soft brush or alcohol wipe before the clay sets.
Then there’s flattening. You spent an hour shaping the face, only to mash it when working on the arms. Solution? Work in stages and anchor one area fully before moving on. Patience pays here more than pressure.
To practice without wasting clay, start small. Roll out thin sheets to try detailing, or reuse scrapped bits for mockups. Get into the habit of learning technique before chasing perfection.
Arguably the hardest part? Knowing when to stop. Overworking leads to blurred lines, squashed features, and often a redo. Step back now and then. Take a picture. If it reads well from a distance, call it done. Clean over perfect wins every time.
Need more help on prep and process? The beginner clay guide breaks down common fixes in even more detail.
From First Try to First Collection
Building your clay sculpting skills isn’t about cranking out random pieces it’s about direction. Working in themes (say, woodland animals or tiny food sculptures) helps you narrow your focus. It trains your hands to repeat forms and your brain to build fluency in shapes and textures. Like practicing scales before writing a song, themed sculpting builds the basics faster and smoother.
Tracking progress doesn’t need to be complicated. Snap photos of each piece you finish. Keep them in a folder or even print them out. Compare week by week. Notice what’s improving lines cleaner? Shapes more confident? You’ll spot trends in your own growth by actually looking back.
Feedback helps too. Don’t wait until you feel ready. Share pieces with a small circle friends, online forums, or local craft groups. Ask clear questions (“Does this bunny look balanced?”) and listen. You don’t need to accept every bit of advice, but thoughtful input keeps your progress grounded.
Then there’s the messy middle the part where motivation dips and nothing looks right. Keep going. Sometimes the best thing you can do is pick a small, familiar theme, even if it feels boring, and just make. One tiny dragon. One cactus every day for a week. Throwing clay at the wall (figuratively) beats standing still.
 Karen Parker is a vital member of the Sculpture Creation Tips team, where her profound love for the art of sculpting is evident in every piece she works on. With years of experience and a deep understanding of various sculpting techniques, Karen has become a trusted mentor to both beginners and seasoned artists alike. Her dedication to the craft is matched only by her passion for teaching, as she creates detailed, easy-to-follow tutorials that help others bring their artistic visions to life. Karen's expertise spans a wide range of materials and styles, allowing her to offer invaluable insights that cater to a diverse audience. Whether through her hands-on guidance or her thoughtful advice, Karen's contributions are instrumental in nurturing a vibrant and supportive community of sculptors, all united by a shared love for this timeless art form.