Sculpting realistic animal figures is a captivating art form that allows me to bring creatures to life through clay, capturing their essence in intricate detail. From the graceful curve of a swan’s neck to the fierce gaze of a lion, each sculpture tells a unique story, inviting viewers to marvel at the beauty of the natural world.
In this article, I’ll share my expertise on sculpting techniques, guiding you through the process of creating lifelike animal figures step by step. Whether you’re a seasoned sculptor looking to refine your skills or a beginner eager to dive into this creative endeavor, mastering the art of sculpting realistic animals is a rewarding journey that offers endless possibilities for artistic expression. Join me as we explore the fascinating world of sculpting and unleash your creativity in bringing these majestic creatures to life.
Choosing the Right Materials for Sculpting
When sculpting realistic animal figures, selecting the appropriate materials is crucial. To bring your creations to life, I will guide you through choosing the right materials and tools.
Types of Clay and Their Properties
In sculpting lifelike animal figures, the type of clay you use significantly impacts the final result. Here are some common types of clay and their properties:
- Polymer Clay: Ideal for detailed work and can be baked in a home oven for hardening.
- Air-Dry Clay: Doesn’t require baking, making it convenient for beginners but may be more prone to cracking.
- Oil-Based Clay: Remains pliable for long periods, suitable for larger sculptures but not ideal for fine details.
- Paper Clay: Contains paper fibers for added strength, lightweight, and suitable for delicate features.
Understanding the properties of each type of clay will help you choose the most suitable one for your sculpting project.
Other Essential Tools for Sculpting
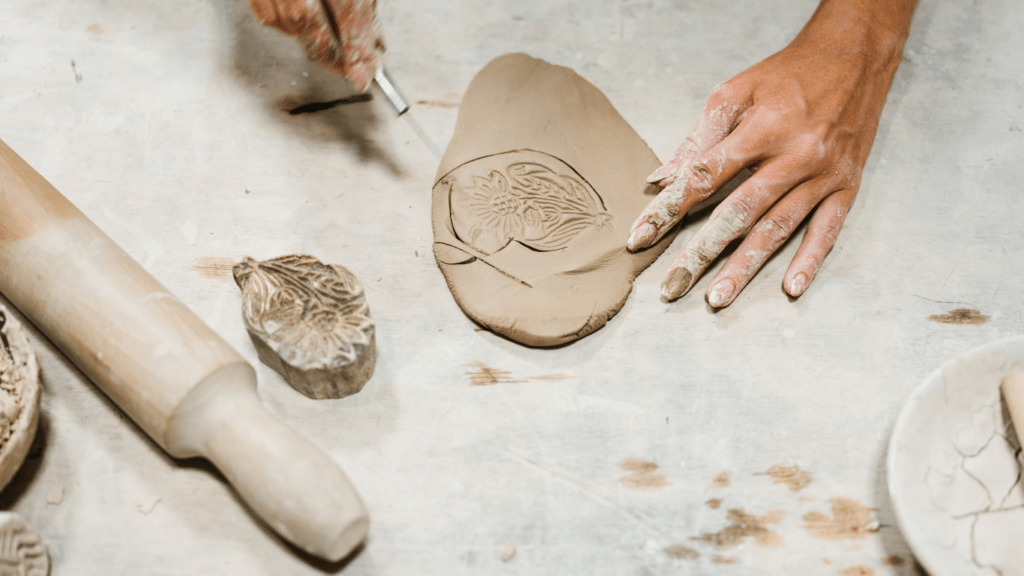
Aside from clay, several essential tools are necessary to sculpt realistic animal figures. Here are some tools you may need:
- Sculpting Tools: Various tools such as wire-end loop tools, needle tools, and ribbon tools for shaping and detailing.
- Armature: Provides a structural framework for your sculpture, especially for larger pieces.
- Modeling Stands: Hold your sculpture in place as you work on it, ensuring stability.
- Texturing Tools: Create different textures like fur, scales, or feathers to add realism to your animal figures.
Having the right tools at your disposal is crucial for achieving the level of detail and realism you desire in your animal sculptures.
Understanding Animal Anatomy
When sculpting realistic animal figures, understanding animal anatomy is crucial. It allows me to capture the essence and characteristics of different animals accurately. By studying key anatomical features and using references for accuracy, I can elevate the level of realism in my sculptures.
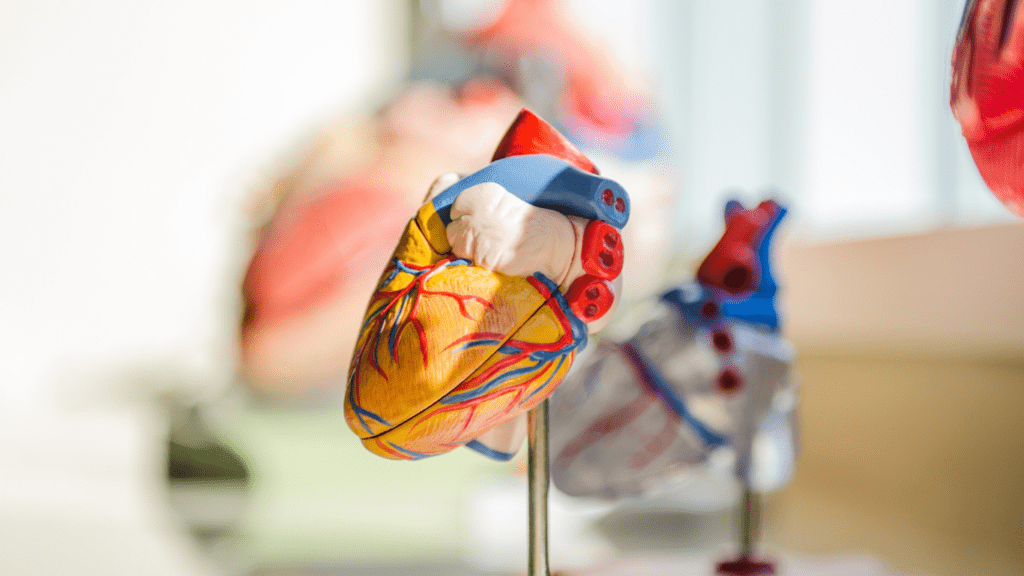
Key Anatomical Features for Different Animals
I consider key anatomical features unique to each animal species when sculpting. For example, the skeletal structure and muscle placement differ between a lion and a horse. Understanding these differences helps me accurately depict the stance, posture, and overall appearance of the animal I’m sculpting. It’s essential to focus on details like the shape of the skull, the positioning of limbs, and the proportions of body parts to ensure the sculpture closely resembles the intended animal.
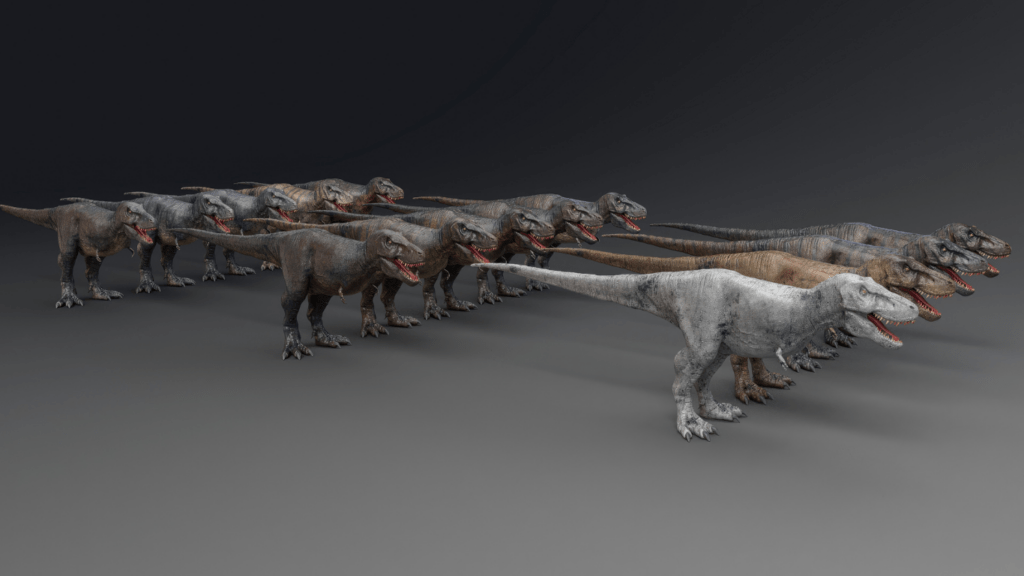
Using References for Accuracy
References play a vital role in ensuring the accuracy of my animal sculptures. I rely on photographs, drawings, and anatomical diagrams of the specific animal I’m sculpting. These references provide valuable visual information on fur patterns, muscle definition, and unique features that contribute to the authenticity of the sculpture. By studying references closely and observing the intricate details, I can enhance the realism of my animal figures and create captivating sculptures that capture the beauty of nature.
Techniques for Sculpting Realistic Animal Figures
Starting with the Building the Basic Structure, I typically begin by creating a simple armature that outlines the general shape and proportions of the animal I aim to sculpt. This armature acts as the foundation, providing support and structure as I work on the finer details.
When sculpting, I focus on gradually building up the clay around the armature, paying attention to the overall shape and form of the animal. I adjust the clay as needed to ensure symmetry and anatomical accuracy. This process sets the groundwork for capturing the essence of the animal’s body structure.
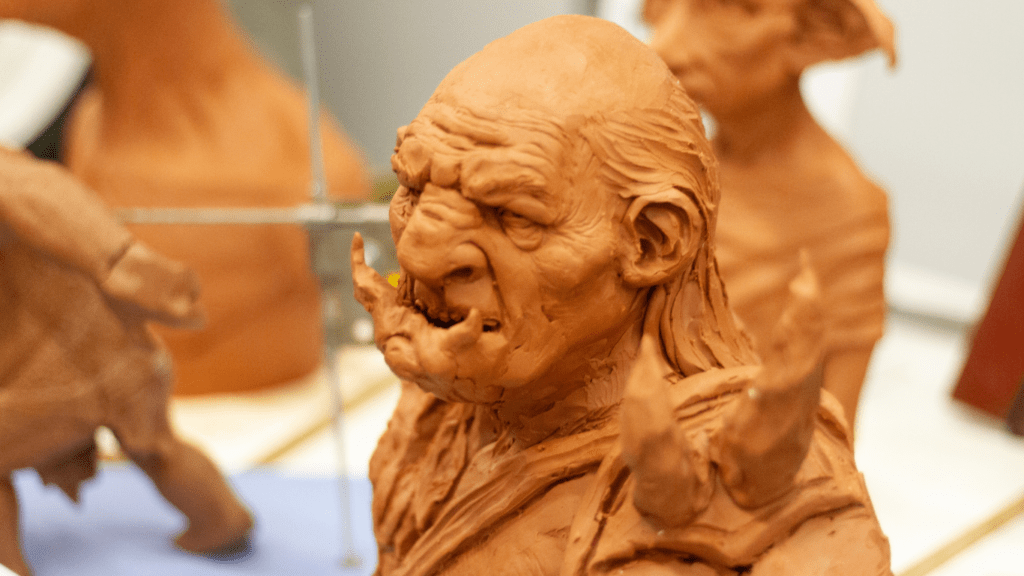
Moving on to Adding Fine Details and Textures, once the basic structure is in place, I shift my focus to adding intricate details that bring the sculpture to life. By observing reference images and studying the animal’s anatomy, I meticulously sculpt features like fur patterns, muscle definition, and facial characteristics.
To enhance realism, I use various tools to create textures that mimic the animal’s skin, fur, or scales. Small tools like sculpting knives and brushes help me refine details and achieve a lifelike finish.
By layering details and textures thoughtfully, I can elevate the realism of the sculpture, capturing the unique essence of the animal and emphasizing its natural beauty. This attention to detail and texture work plays a crucial role in sculpting realistic animal figures that captivate viewers with their lifelike appearance.
Painting and Finishing Your Animal Sculptures
When it comes to painting and finishing your animal sculptures, choosing the right paints and colors is crucial. Acrylic paints are a popular choice for sculptors due to their versatility and quick drying time. They come in a wide range of colors that can be easily mixed to achieve the perfect shade for your sculpture.
Choosing Paints and Colors
For a realistic look, I recommend using earth tones and natural hues that mimic the animal’s fur or skin. Start by applying a base coat using a light color and gradually layering darker shades to add depth and dimension. Consider studying reference images of the animal you’re sculpting to accurately replicate its color patterns and markings.
Sealing and Protecting the Sculpture
Once you have finished painting your sculpture, it’s essential to seal and protect it to ensure its longevity. A clear varnish or sealer can help protect the paint from fading and prevent dust or dirt from accumulating on the sculpture’s surface. Make sure to apply the sealer in thin, even coats, allowing each layer to dry completely before adding the next. This final step will not only enhance the appearance of your sculpture but also preserve it for years to come.
 Harrison Lee plays a vital role at Sculpture Creation Tips, where his passion for the art of sculpture is evident in everything he does. With a comprehensive understanding of both classical and contemporary sculpting techniques, Harrison is committed to guiding and educating artists, whether they are just beginning their journey or are seasoned professionals. His approach goes beyond merely teaching technical skills; he encourages artists to explore and develop their unique artistic voices, pushing the boundaries of their creativity. Harrison's expertise and dedication make him an invaluable resource, not just for honing craftsmanship but also for inspiring innovation within the sculpting community. His ability to foster a supportive, dynamic learning environment ensures that every artist he works with is equipped to reach new heights in their artistic endeavors. Harrison's contribution to Sculpture Creation Tips is instrumental in its mission to elevate the art of sculpture and empower artists to achieve their full potential.